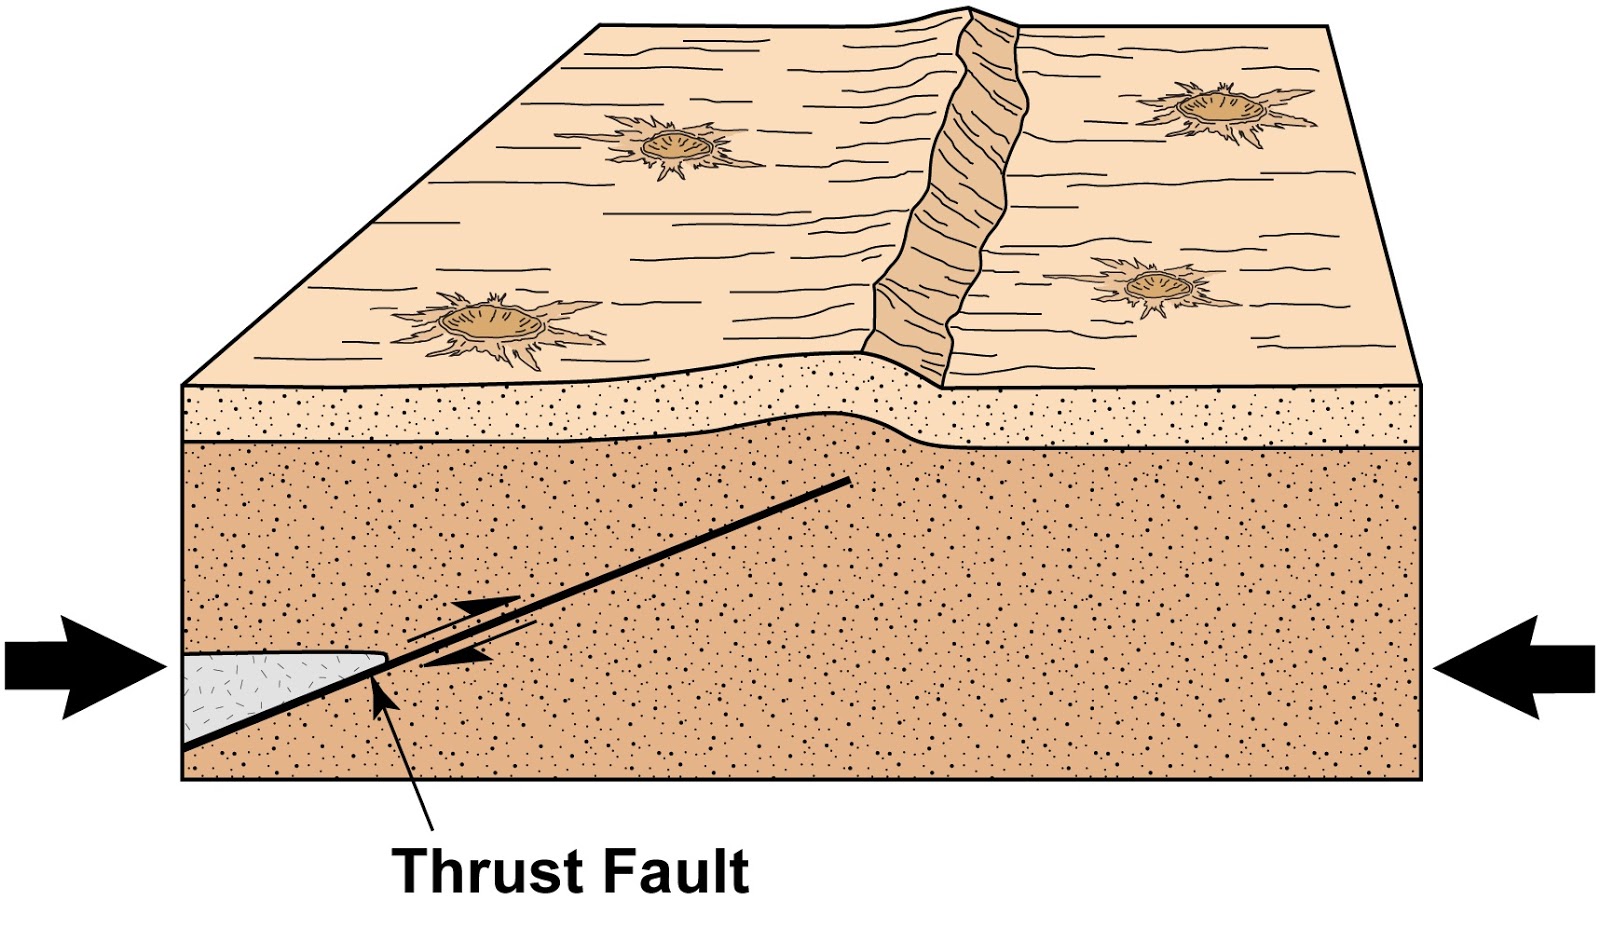
The Birth and growth of fault
Fault formation and growth is a complicated process involving a frontal process zone where micro-fractures form and eventually connect.
Fault formation in non-porous rocks
Faults in rocks with low or no porosity somehow grow from small shear fractures. However, this cannot happen directly from a single shear fracture, since shear fractures cannot expand in their own planes. Instead they will curve and form wing cracks or related cracks across which there is tension. Experiments show that a phase of intense micro-fracturing occurs prior to fracture initiation or propagation. Once the density of micro-fractures reaches a critical level, the main fracture expands by linkage of favourably oriented micro-fractures. The zone of micro-fractures (and meso-fractures) ahead of the fracture tip zone is called the frictional breakdown zone or the process zone. For a fault to develop, a number of small shear fractures, tensile fractures and hybrid fractures must form and connect. The incipient fault surface is irregular, leading to grinding and micro-fracturing of the walls. A thin core of brecciated or crushed rock typically forms. During fault growth, new fractures form in the walls next to the fault core. Hence, most faults have a well-defined core of intense cataclastic deformation and a surrounding damage zone of less intense fracturing.
Natural rocks are not isotropic, and in many cases faults form along pre-existing mesoscopic weaknesses in the rock. Such weaknesses can be layer interfaces or dikes, but the structures that are most likely to be activated as faults are joints (and, of course, pre-existing faults). Joints tend to be very weak planar structures with little or no cohesion. Joints may also form surfaces many tens of meters or more in length and/or height, because as extension structures they have had the freedom to expand in their own plane. Faults formed by faulting of joints inherit some of the features of the original joints. If a fault forms by frictional sliding on a single, extensive joint, the initial fault tends to be a sharp slip surface with almost no fault core and with (almost) no damage zone. If slip accumulates, however, the fault outgrows the joint and links with other joints in the vicinity of its tip zone. The damage zone then thickens, and the fault core may grow.
Fault formation by joint reactivation requires less stress, causes less off-fault damage (narrower damage zone) and may result in a lower displacement gradient along the fault.
Fault formation in porous rocks
In highly porous rocks and sediments, fault growth follows a somewhat different path. Pore space gives the grains a unique opportunity to reorganize. If the grains in a sandstone are weakly cemented together, then the grains will reorganize by rotation and frictional grain boundary sliding (translation) during deformation. In other cases grains can also break internally. In either case, the deformation is likely to localize into narrow zones or bands to form structures known as deformation bands. Field observations, as well as experimental and numerical work, show that deformation proceeds by sequential formation of new deformation bands adjacent to the initial one. This means that at some point it becomes easier to form a new band next to the existing one than to keep shearing the primary band. The result is a deformation band zone, and this development is commonly explained in terms of strain hardening. Strain hardening is thought to be related to the loss of porosity in the band and is most pronounced where grains are crushed (cataclastic bands). Note the difference between process zones in non-porous and highly porous rocks: The process zone in non-porous rocks weakens the host rock and increases porosity by the formation of cracks. In high porosity rocks the deformation bands in the process zone in many cases harden the rock and reduce porosity. Once a certain number of deformation bands have accumulated in the deformation band zone, porosity is sufficiently reduced that a slip surface can form and grow. Slip surfaces nucleate in small patches that propagate, link up, and ultimately form through-going slip surfaces. Mechanically, slip surfaces are weak structures that relatively quickly can accumulate meters of slip or more. Through-going slip surfaces are commonly associated with a thin (millimeter-thick) zone of ultracataclasite, which may be considered as the local fault core.
Faults in highly porous rocks form in precursory deformation band zones.
The damage zone

The growth of deformation bands and/or ordinary fractures prior to the formation of a through-going slip surface has implications for our understanding of the damage zone. The moment the slip surface (fault) forms, the enclosing zone of already existing structures will become the damage zone. Once the fault is established, the process zone in front of the fault tip moves ahead of the fault tip as the fault expands, leaving behind a zone that becomes the initial fault damage zone. In a porous rock, this zone is likely to consist of deformation bands. Because faults form in porous rocks by faulting of a deformation band zone, the length of the deformation band process zone tends to be longer than the process zone seen in many non-porous rocks. This is particularly true if the deformation bands are cataclastic, in which case the process zone can be several hundred meters long. If the structures of the damage zone form ahead of a propagating fault tip, then the damage zone should be slightly older than the associated slip surface. A consequence of this assumption would be that the width and strain of a damage zone are independent of fault displacement. Empirical data show that this is not the case, even though the fault (slip surface) represents the weakest part of the rock and is therefore prone to reactivation without the creation of more side wall damage. The reason is simply that faults are not perfectly planar structures, nor do they expand within a perfect plane. Faults are irregular at many scales because the rocks that they grow in are both heterogeneous and anisotropic. For example, faults may bend as they meet a different lithologic layer or as they link with other faults.
The structures in the damage zone form both prior to, during and after the local formation of the slip surface (fault).
If the fault is temporarily or locally planar and smooth, then there may be periods during which displacement accumulates without any deformation of the wall rocks, i.e. without any widening of the damage zone. However, at locations of fault linkage or fault bends, wall damage may also occur during fault growth, which leads to a local widening of the damage zone. Eventually, the fault may find a more planar way through zones of complications, and the damage zone becomes inactive again. Thus, the growth of damage zones may be temporal and local, contributing to the scatter.

The ductile drag zone
Drag is best defined as any systematic change in the orientation of layers or markers adjacent to a fault in a way that makes it clear that the change deflection is genetically related to the fault. Commonly, the term drag describes zones some meters or tens of meters wide. However, hanging-wall synclines related to normal faults in continental rift basins can extend several hundred meters into the hanging wall. Similarly, large-scale roll overs (reverse drag), up to several kilometres long on the hanging-wall side are associated with large listric faults.
Drag is folding of layers around a fault by means of brittle deformation mechanisms, directly related to the formation and/or growth of the fault.
Drag is seen in layers that are soft enough to deform ductilely in the upper, brittle part of the crust, most commonly in faulted sedimentary sequences. Although drag is commonly limited to a few-meters-wide zone along the fault, it may also be large enough to be imaged on seismic data, which in Drag can form in any tectonic regime. The kinematic requirement is that the angle between the slip vector of the fault and the layering is not too small. Because layering tends to be sub-horizontal in sedimentary rocks, drag is most commonly associated with normal and reverse faults and less commonly developed along strike-slip faults. Folds also develop in sub-horizontal layers along strike slip faults, but these are not drag folds. Thus, we may want to add another characteristic of drag folds:
There are two geometrically different types of drag: normal drag and reverse drag. Normal drag is the shear zone-like geometry where layers flex toward parallelism with the fault. Normal drag involves displacement, so that the total offset is the sum of the ductile normal drag and the discrete fault displacement. Reverse drag is used for the usually larger-scale roll over structures that occur on the hanging-wall side of listric normal faults. In this case the layers are concave in the slip direction. Both normal and reverse drag occur along faults, depending on the local fault geometry. It was originally thought that drag was the result of friction along the fault during fault growth, but the term now includes bending of the layers prior to fault formation. The latter model seems to fit many examples of drag. This model is similar to that of damage zone development: in both cases layers are deformed in the wake of the fault tip. The difference is that drag folding is ductile down to a certain scale, commonly that of a hand sample. The geometry of a drag fold contains information about how it formed. A drag fold in which the layers have the same geometry along the fault, with constant width of drag zone dip isogons running parallel to the fault trace, can be modelled by simple shear. In this case we have a simple shear zone with a central discontinuity. In other cases the drag zone is upward-widening, and a different kinematic model must be applied. A popular model is called trishear. In this model strain is distributed in a triangular or fan-shaped zone of active deformation ahead of the fault tip. This zone moves through the rock as the fault propagates, and no further folding occurs once the fault has cut through the layers. The width of the triangular deformation zone varies from case to case, but in all cases the drag zone widens up section. This model seems to work particularly well in places of reactivated basement faults that grow into overlying sedimentary strata. Many examples of such structures are found in the uplifts on the Colorado Plateau and in the Rocky Mountains foreland in Wyoming and Colorado, where the fold structures are commonly referred to as forced folds. Folds that form ahead of a propagating fault tip are called fault propagation folds. Thus, many drag folds are faulted fault propagation folds. However, drag can also form or become accentuated in the walls of an already existing fault. Just like the damage zone, fault drag can develop due to locking of the fault at fault bends, fault linkage and other complications that can increase the friction along faults. The latter mechanism can take drag to the point where the rotated layer, which typically consists of clay or shale, forms a smear along the fault.
Drag, deformation mechanisms and the damage zone
Drag can occur by granular flow, particularly in poorly lithified sediments. Granular flow leaves little or no trace of the deformation except for the rotation of layering or modification of sedimentary structures. In consolidated sedimentary rocks grains may start to fracture, and the mechanism becomes distributed cataclastic flow. The mechanisms are the same as those that operate in the different deformation bands discussed in the previous chapter, but the deformation during drag folding is less localized and strain is generally lower. There is, however, a strain gradient toward the fault. Fractures or deformation bands may occur in drag zones. In such cases the density of fractures or deformation bands increases toward the fault. The appearance of mesoscopically mappable fractures or deformation bands indicates that we are in the damage zone. Where drag folds are well developed, the drag zone tends to be wider than the damage zone, although the opposite situation also occurs. Some faults, particularly in metamorphic rocks, show drag-like folding of the layering. A closer examination of many such “drag” folds reveals that they are controlled by plastic deformation mechanisms and are thus shear zones around faults that could have formed in a variety of ways, generally in the zone of brittle–plastic transition. We generally do not consider such plastic fold structures as drag folds, although the similarity can be striking.
Fault growth and seismicity
Once a fault surface is established it will represent a mechanically weak structure that is likely to fail again during renewed stress build-ups. Faults grow by two mechanisms. The most common one is called stick-slip, where slip accumulates at very sudden seismic slip events, separated by periods of no slip. Stress builds up between the slip events until it exceeds the frictional resistance of the fault. This is the model used to understand earthquakes, where each slip event causes an earthquake whose magnitude is related to the amount of energy released during the stress drop. In terms of strain, this is related to the amount of elastic strain that is released as the fault moves.
The other way for faults to accumulate slip is by stable sliding or a seismic slip. Ideally, displacement accumulates at a constant rate during stable sliding. Some laboratory experiments show that a gradually increasing force is needed for slip to continue. This effect is called slip hardening and is related to damage of the slip surface during deformation. Several factors control whether fault displacement accumulates gradually or by sudden slip events. Rock experiments indicate that stable sliding is more likely when the normal stress across the fault is small, which means that stable sliding is more common in the uppermost part of the brittle crust than deeper down. Low angle faults along over pressured layers in a sedimentary sequence would also be likely to experience stable sliding even at depths of several kilometres because overpressure reduces the effective normal stress across the fault. Lithology is another important factor: porous sediments and sedimentary rocks are more likely to deform by stable sliding than are low-porosity crystalline rocks. In particular, stick-slip is favoured in low-porosity quartz rich siliceous rocks, while clay promotes stable sliding. Clay-bearing in cohesive fault gouge in the fault core has some of the same effect as clay stone: thick and continuous zones of clay gouge promote stable sliding. The fact that gouges (or rather slip surfaces along gouge zones) tend to represent pathways for fluid flow may add to their ability to slide in a stable fashion. Close to the brittle–plastic transition, elevated temperatures introduce plastic deformation mechanisms that also promote stable sliding. Stick-slip deformation is of minor importance in the plastic regime, which for granitic rocks means temperatures above 300 C. In summary, we could say that in the very top of the crust (upper kilometre or two), earthquakes are expected to be rare because of low normal stresses, weak and unconsolidated fault cores (gouge) and, at least in sedimentary basins, weak and porous rocks in general. Below this depth one would expect abundant seismic or stick slip activity until the brittle-plastic transition is reached. This is exactly what earthquake data indicate, and the zone is called the seismogenic zone. Typically, a single fault in the seismogenic zone shows evidence of both stick-slip and stable sliding. While seismic events may be responsible for the majority of total displacement accumulated over time, slow, a seismic “creep” is found to occur between seismic events. There is also a need for small post seismic adjustments that may or may not be seismic. Seismic means sudden energy release and displacement accumulations by means of earthquakes. A seismic means gradual displacement accumulation without the generation of earthquakes. Fault slip and displacement accumulation are commonly discussed in terms of seismicity and seismic slip behaviour. It is important to realize that a single earthquake is unlikely to add more than a few meters of displacement. A quake of magnitude 6.5–6.9 that activates a 15–20 km long fault adds no more than one meter of maximum displacement to a fault. Only the largest earthquakes can generate offsets of 10–15 m. This has a very important implication:
It is worth noting that the accumulation of such displacements would take thousands or millions of years, depending on the local displacement rate. Throw rates for faults can be found by dating sedimentary layers that are offset and measuring their displacements. Average displacement rates of around 1–10 mm/year have been published for major faults in tectonically active areas. Large faults tend to slip along just a limited portion of the total fault surface. The total displacement distribution for a large fault is therefore the sum of displacements contributed by individual slip events (earthquakes). While it seems clear that single slip events produce more or less elliptical displacement contours, the finite displacement distribution from a large number of slip events (earthquakes) is more difficult to predict or understand. The characteristic earthquake model assumes that each slip event is equal to the others in terms of slip distribution and rupture length. However, the location of the displacement maximum is shifted for each slip event. The variable slip model predicts that both the amount of slip and the rupture length vary from event to event, while the uniform slip model considers the slip at a given point to be the same in each slip event (the area varies). We will not go into the details of these models here, but simply state that displacement accumulation results in a displacement maximum near the middle of the fault, gradually tapering off toward the tips.
Credits: Haakon Fossen (Structural Geology)
Credits: Haakon Fossen (Structural Geology)